In theater in the US, we love lighting paperwork. Or we view it as necessary. So no plot is complete without an Instrument Schedule (all fixtures organized by hanging location) and a channel hookup (all fixtures sorted by order of channel). I personally export from Capture and import into Lightwright. If you also prefer this, check out my earlier tutorial on how to do this here.
But since I’m interested in making Capture as usable as possible without buying more software, we will explore two different ways to make paperwork from Capture- internal, and exporting to a spreadsheet of your preference (free spreadsheet app from OpenOffice is amazing if you don’t own Excel). Let’s start with internal.
Method 1: Internal
Open the same Aerial touring plot we’ve been working on. Go to Design>Reports. Click the + symbol to create a new report and select Fixture Report.

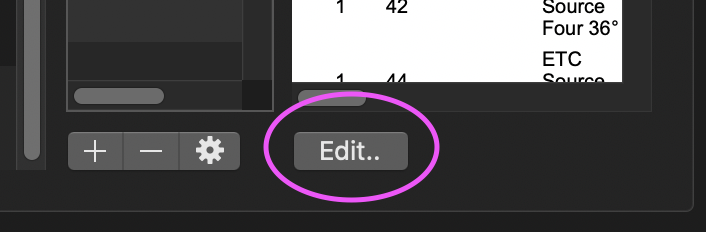
Rename to Instrument Schedule by simply typing and pressing enter. Click Edit in the lower right hand corner.
You are presented with a set of paperwork that appears to be sorted by unit number. Yikes. Let’s make this make sense. Look over in the Content column, because that is where most of your work will happen.
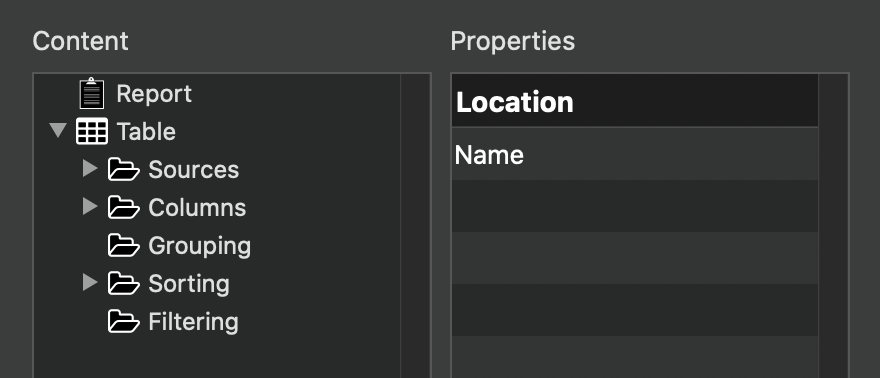
- Sources are what information is being pulled to be the database everything is sorted from. In this case, Fixtures is the Source.
- Columns are every item in the Report by category.
- Grouping is how all the data is being grouped. An example is Grouped by Position. (Which is what we want for this Report.) Grouping items must be added from another category like Columns.
- Sorting is the order the columns of info appear in.
- Filtering is like Filtering throughout Capture- a way to remove information from view without removing the information from the document.
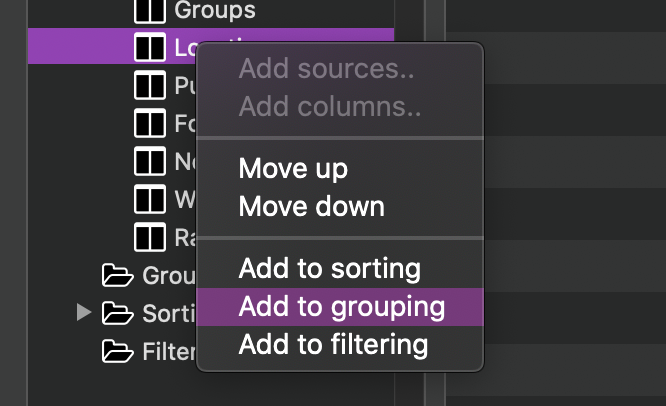
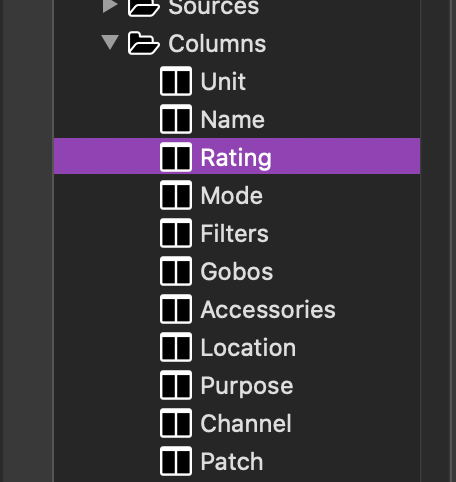
Now that we are oriented, click the arrow next to Columns to expand it. Right click on Location and select Add to grouping.
You will notice that your Instrument Schedule has broken up each position separately and then organized by ascending order of unit. Curiously, the FOH 1 and 2 position appear before the numbered position. This is not how alphabetic order works, but at the moment, it works for our needs. At this point, the Report is rather cramped, so let’s get rid of columns we don’t need.
Return your attention to the Columns category. I’m going to remove the following:
- Circuit (I’m the designer- I don’t care in this show what the circuit is)
- Optics
- Focus (I use Purpose for this, so it’s redundant)
- Groups
- Note
- Weight
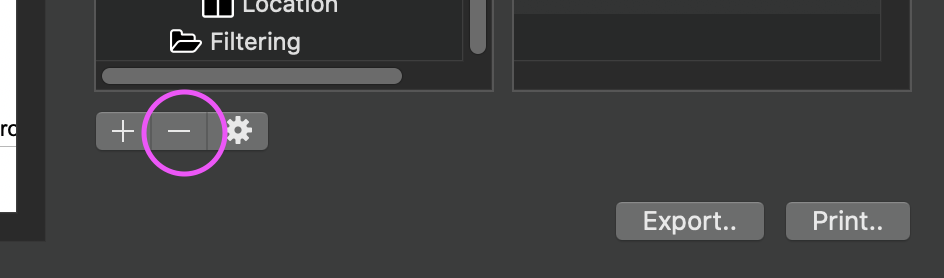
You may retain or remove whatever you choose. Removing is easy, select the item from Columns and click the – symbol at the bottom of the Report window.
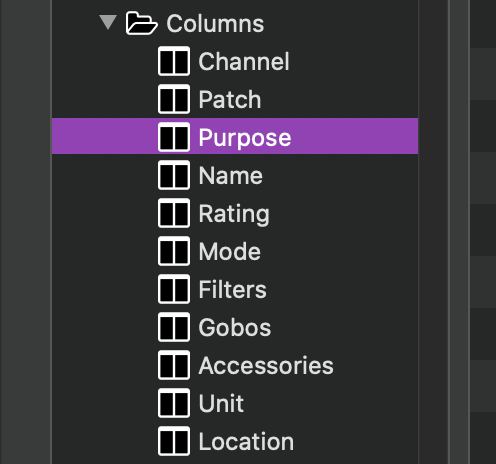
Do this until every you wish is removed. Let’s reorganize the order of the columns now. I like things to be in the following order:
Changing order is both easy and slow. You right click on any ONE item and select Move up or Move down. Repeat, over and over until you get the desired results. It’s an unnecessary amount of steps (it would be great to either have a keyboard shortcut or to at least be able to make multiple selections), but it’s worth it to have clear paperwork.
At this point, the Instrument Schedule is complete. But it’s worth noting a few limitations of Capture. There seems to be no way to customize the order of Location beyond ascending or descending. Column width varies across positions, which to me makes this an irritating document to read. But for simple and built in- it does the job.
Let’s make our channel hookup. Close your current report and click the plus again to create a new report and name it Channel Hookup. Again, click Edit in the lower right hand corner. Go to Sorting and right click on Channel. Select Move up to make it what the sheet sorts by. Remove the same columns as last time and reorder your columns to the following:
This makes our Channel Hookup complete. While I’m happy with the Channel, the limitations of the Instrument schedule are irritating. So let’s close the Channel Report and look at exporting.
Method 2: Exporting
In Capture, go to File>Export Fixture Data. By default, Capture will choose to export a CSV (Comma Separated Values) file. This is the format we want, so name the file the same as the Capture file and choose a location on your computer and press Save.

When you press Save, you are presented with some options.
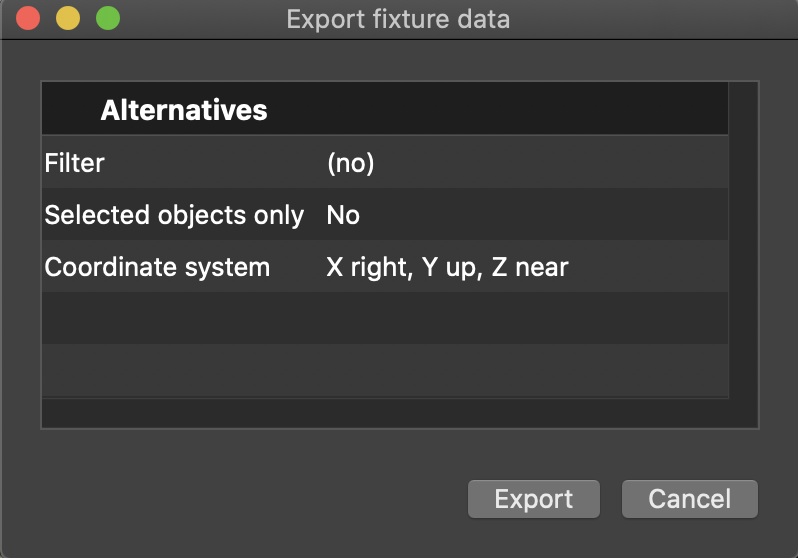
You may apply filters to exclude data, you may choose to export only what you have selected, and you may choose to change the XYZ values to be transpose Y and Z to have Y be depth and Z be height. This could be useful if you are planning to export this data into a console or other 3D application. I don’t plan on doing that, so I’m leaving all of this as it is pictured.
Open Excel, OpenOffice Calc, Google Sheets, Numbers, or another spreadhseet application I don’t know exists. Your spreadsheet must be able to do the following:
- Sort by two columns at once
- Treat a header row as data it should not sort
- Hide columns
None of these things are fancy, but they all are important. The last- Hide Columns- is important if you wish to import and export between your spreadsheet and Capture for things like Channel, Address, Purpose, etc.
I will be doing my spreadsheet within Excel. Open the csv file. Import note: we will not be erasing ANY information, since it may be useful in the future. The first thing I like to do is hide all the columns I don’t want to see in my Instrument Schedule. My list is:
- Optics
- Circuit
- Groups
- DMX Channels
- Layer
- Focus
- Accessories
- Note
- Weight
- All columns between Position X through External Identifier
With that done, I have a certain order that I want information to appear in an Instrument Schedule. This is the order I like:
- Location
- Unit
- Fixture
- Wattage
- Purpose
- Filters
- Gobos
- DMX Mode
- Channel
- Patch
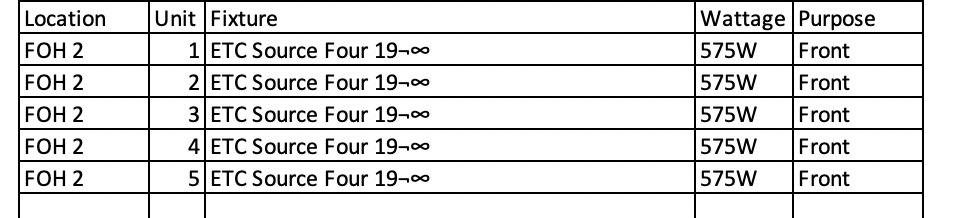
I find in Excel, I need to create an empty Column where I want something to go, then I select the entire column and drag the contents over where I want. You know your spreadsheet app better than I do. I also adjust the columns to the right width to show the info I want. By the end, your spreadsheet should look something like this:

The next thing to do is use cut and paste to sort your desired location/position order. It is VERY important when you sort and move any section of data that you remember to also select the data you have hidden as well. In Excel, we click the square in the upper left hand of the workbook. It’s the one with no label above the number 1 and to the left of A. It will select every cell in your worksheet whether it has data in it or not. Go to Data>Sort. We want to sort first by Location, then by Unit. It’s very important to make Excel aware you have (column) headers in this data by clicking the box.
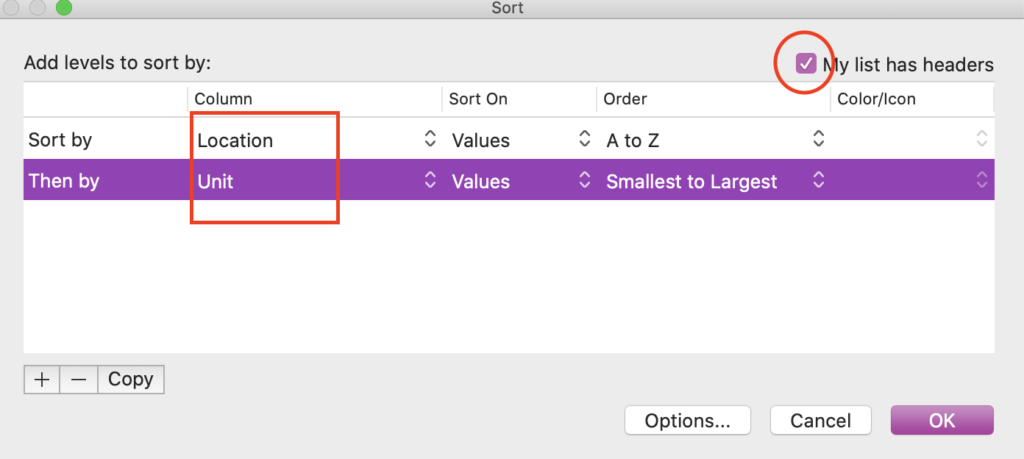
Click OK to sort. At this point, you should have a list that goes from the 1st Booms to the 1st Electric, etc. We need to move the data around in the order we prefer. Remember as you do so to select from the numbers to the left of our first column (Location) to capture the data we have hidden. Put the positions in the following order:
- FOH 2
- FOH 1
- 1st LX
- 2nd LX
- 3rd LX
- 4th LX
- 1 SL Boom
- 2 SL Boom
- 3 SL Boom
- 4 SL Boom
- 1 SR Boom
- 2 SR Boom
- 3 SR Boom
- 4 SR Boom
I also like an empty row between each overhead position and between the SL and the SR booms. You do you.
At this point, it’s best to tell your spreadsheet to take your header column and use it at the top of each page. In excel, you go to Page Layout tab>Page Setup and click next to “Rows to repeat at top”.
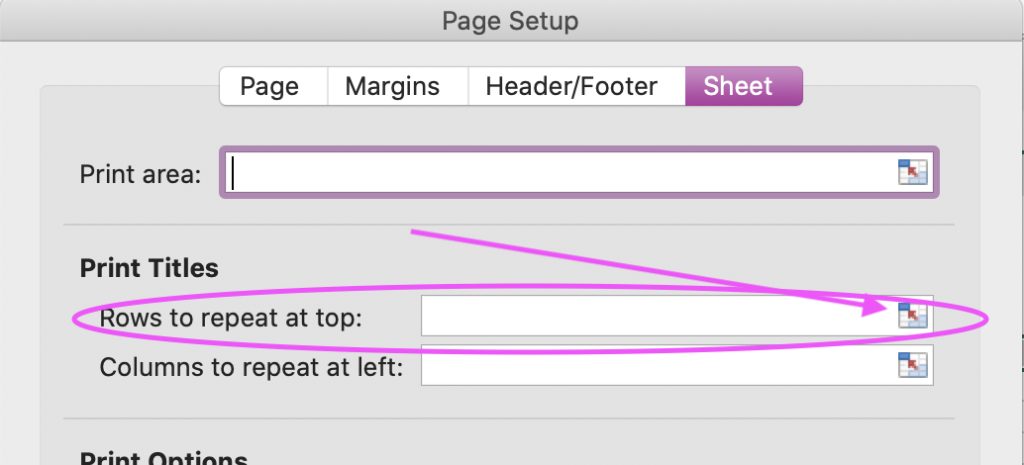
When you click the tiny square the arrow points at, you then click with your mouse on the row you wish to repeat and the click Return/Enter. Then click OK to close the box.
For ease of reading, I will then select all cells by clicking the weird little box above 1 and to the left of A and go to Home tab>Borders and select All Borders to add lines to border every field of data.
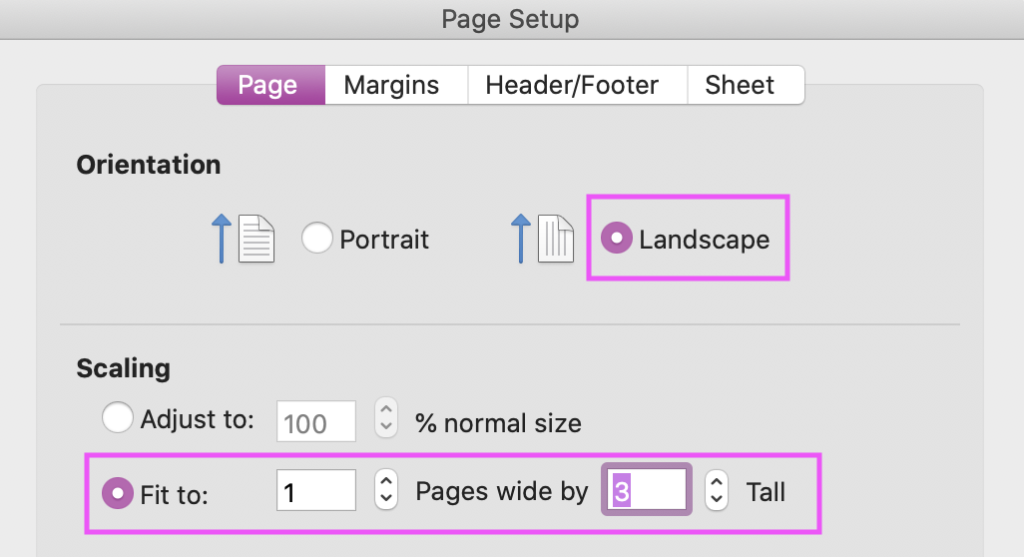
Last step in this process is to go to Page Setup and make the paper Landscape and Fit Pages to 1 wide and 3 high. Click OK to confirm. If your formatting looks weird, you may need to hide some more empty rows to get your page neater.
Notice I’m not walking you through how to set up a Channel Hookup in a spreadsheet. This is for two reasons. 1. Capture makes a fine Channel Hookup. 2. Without getting needlessly involved, the only way to do that is to duplicate the data. Three copies of data is too many places to make sure you are consistent.
I hope this series has been helpful in making Capture a drafting option for you. If you have questions, comments or requests on any lighting-related subject, hit me up in the comments or my Contact Me form. Happy drafting!
2 comments