An ever-increasing number of programmers are working on Nomad. It’s an amazing and cost-effective way to get into EOS, but there are challenges to working on your laptop with an interface that is optimized for encoders and touch screens and a certain keyboard layout. This article lists ten useful ways to make working with Nomad faster and easier. If you are already successfully using Nomad on shows, skip the first three steps.
1. Get a dongle
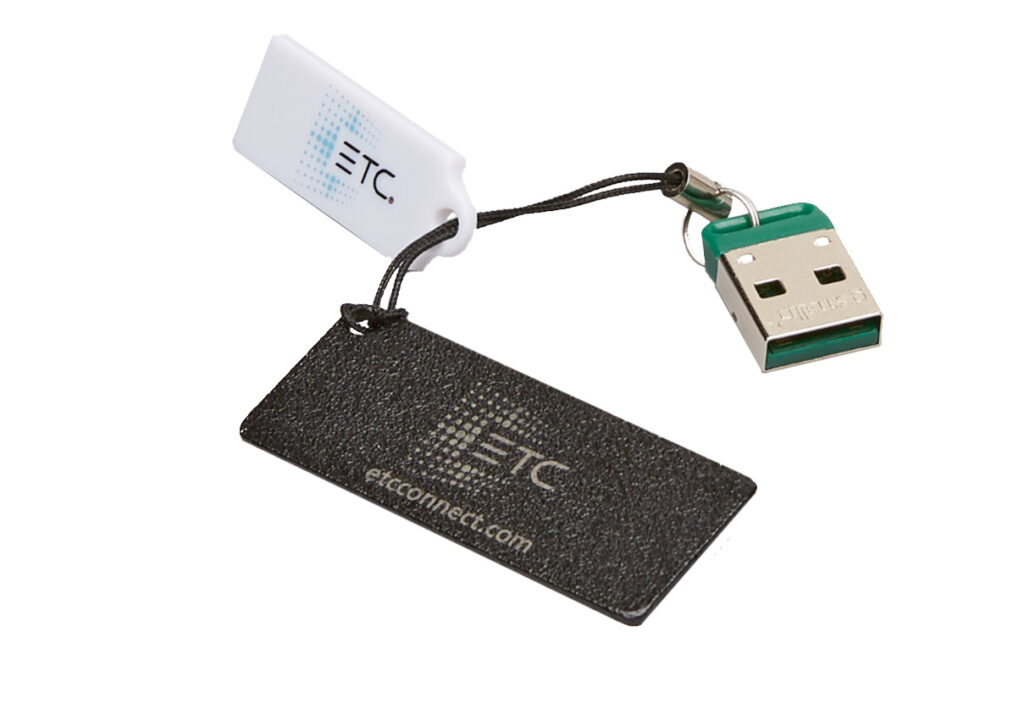
Nomad comes in two flavors- minimum (two universes) and maximum (12 universes.) The license is carried on a small usb dongle that EOS looks for on startup. It works on Mac or Windows. If you are a student or an educator, you can purchase a package deal at a very low rate that pairs a nomad dongle and a two universe gadget for DMX output. If you purchase the two universe dongle, you may pay to upgrade it to the full 12 universe license at any time. Shop around for competitive bids.
2. Output
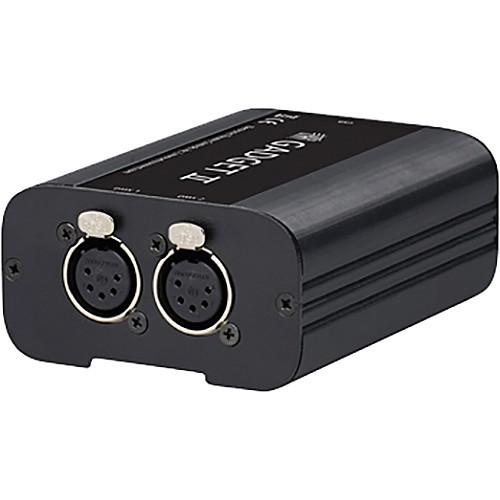
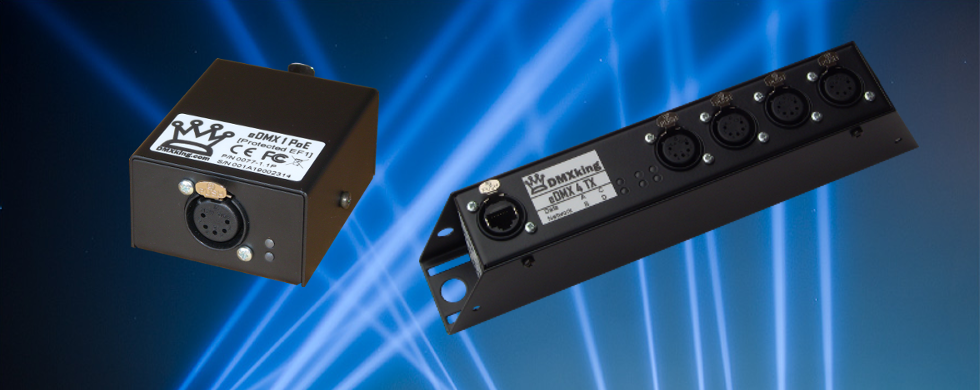
Nomad authorizes output, but not in a way you can plug a light directly into it. One way to get output is through the ETC Gadget. This device uses USB to plug into your computer and outputs two universes of DMX. You other option is to use sACN and Artnet from your computer to a node like the ones provided by DMXKing (best bang-for-buck in my opinion), Enttec, Pathway, or ETC (amongst many others). Be aware of two main things: Using one of the streaming devices means you need a basic competency in networking. Also, be sure to purchase a device that supports RDM is you ever mean to use it.
3. Computer
EOS is pretty great at running on a modest computer, be it Mac or Windows. Check the ETC minimum specs for the best and latest info. I know many people happily using a NUC computer or basic laptop. This gets a little more complicated when you decide to use Augment3d. Augment3d is a 3D virtual environment, and even at the lowest settings can push your system. If you ever plan on using Augmented, strongly consider a gaming system. Even one of the cost-effective gaming laptops that start at the $800 range will be pretty great for your needs. The Acer Nitro 5 is a low-cost example. If you spend more, you will get more processing power, but this serves as a low-cost baseline to include basic visualization.
4. Mouse with a wheel
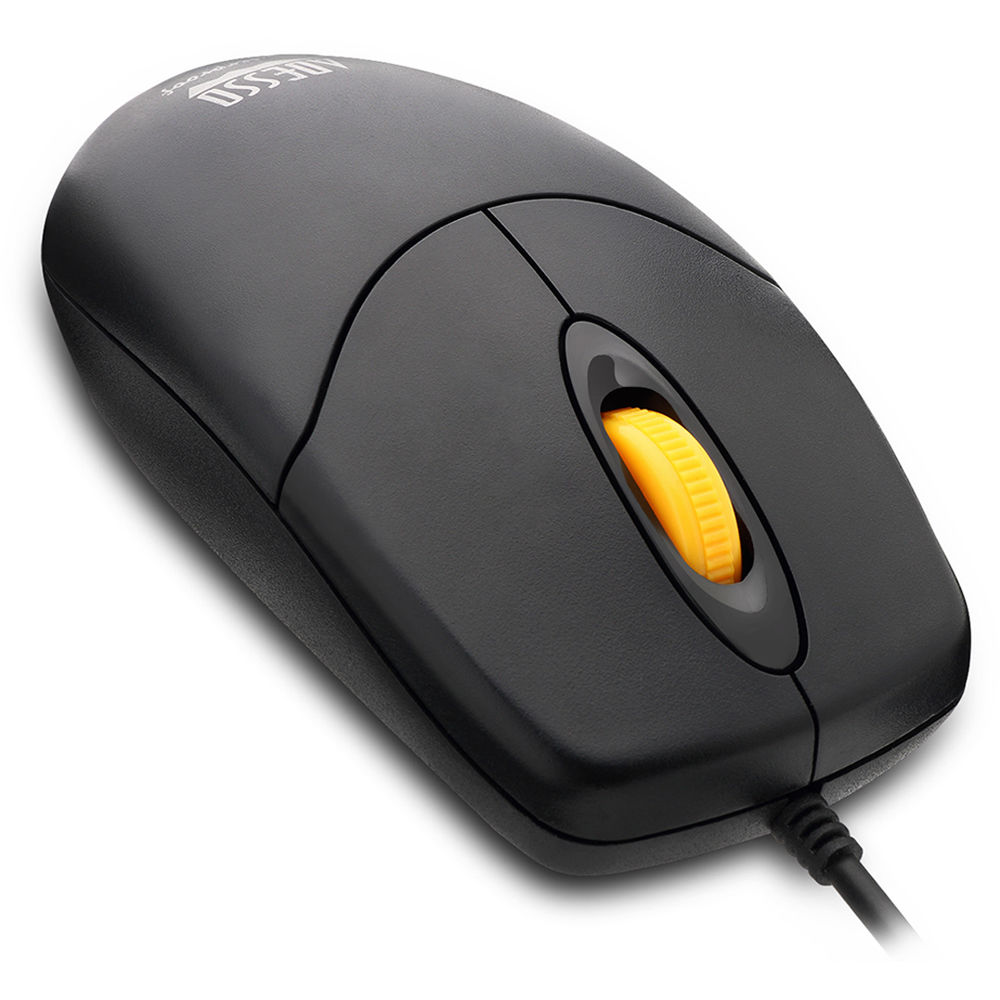
The biggest bang-for-the buck you can have on Nomad is a mouse with a scroll wheel. Why? Because hovering your mouse over an on-screen encoder allows you to raise or lower the value of that encoder smoothly.
5. Custom Keyboard
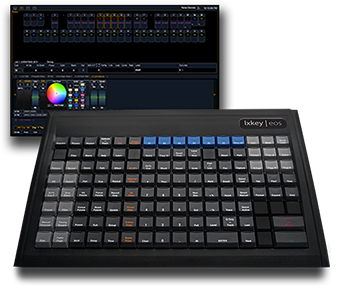
Whether you choose to buy one of the excellent pre-made solutions by LXKeys https://www.lxkey.co.uk or cmd_key https://www.cmd-key.com or create your own out of a Cherry Keys Point of Sale keyboard, having all the keys laid out like a console helps you input information faster and helps you flow between your Nomad rig and full consoles when you have the chance.
6. A touch screen
Faster programming isn’t just hitting the keys fast. It’s taking time to make a compact layout of options on your screen that you can just touch. Though you can use your mouse, touching items with your fingers will improve your speed and experience.
7. Augment3d
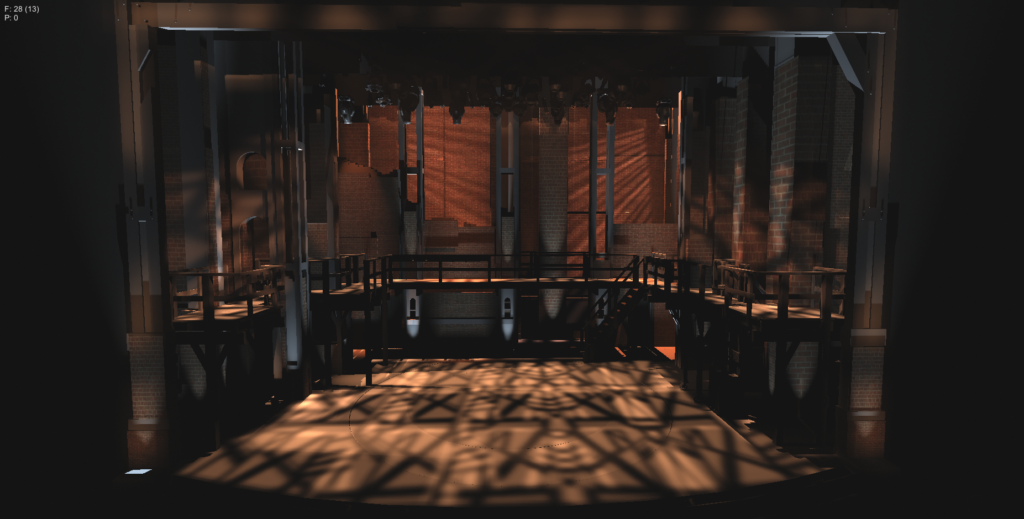
Previous to EOS version 3.0, I would be listing #Lighthack here. But Augment3d makes this less important. Get to know this new function of the console and realize the dream of selecting fixtures and then just pointing on your screen to focus them. Download your workbook and practice materials here.
8. A Remote
TouchOSC $5
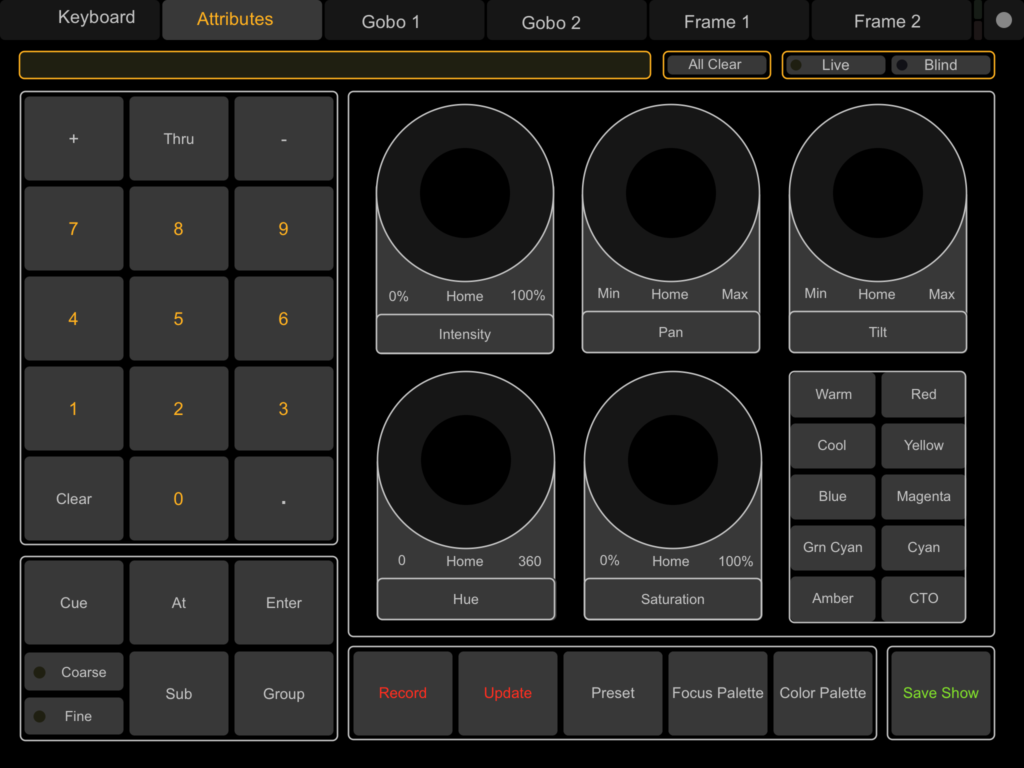
Since EOS is almost totally open to OSC commands, why not utilize your phone or tablet to create custom layouts of encoders, sliders, buttons, or commands? TouchOSC sells at a $5 price point, and works on both Android and iOS. This is a no-brainer. https://hexler.net/touchosc Take advantage of the excellent free template created to control EOS and use as-is, or modify for your needs. https://github.com/ETCLabs/OSCLayouts Pointing out the obvious, you will need a wireless network for any tablet remote.
OSCRFR or iRFR $49
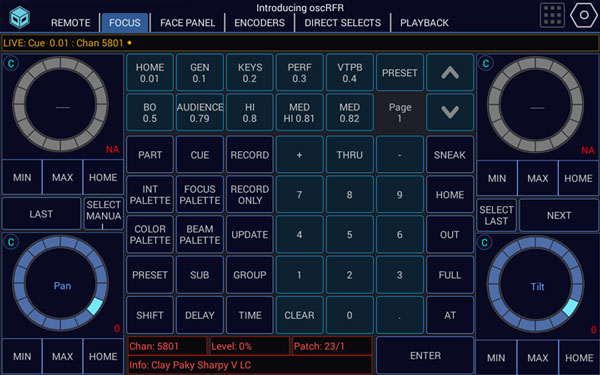
I won’t debate the value between these two awesome products. The strength (for me) of OSCRFR is it can be configured so much by the user. The strength of iRFR (if you use Augment3d) is being able to select and focus your moving lights with your phone. (Note that you need a phone or tablet that support AR.)
9. #Lighthack
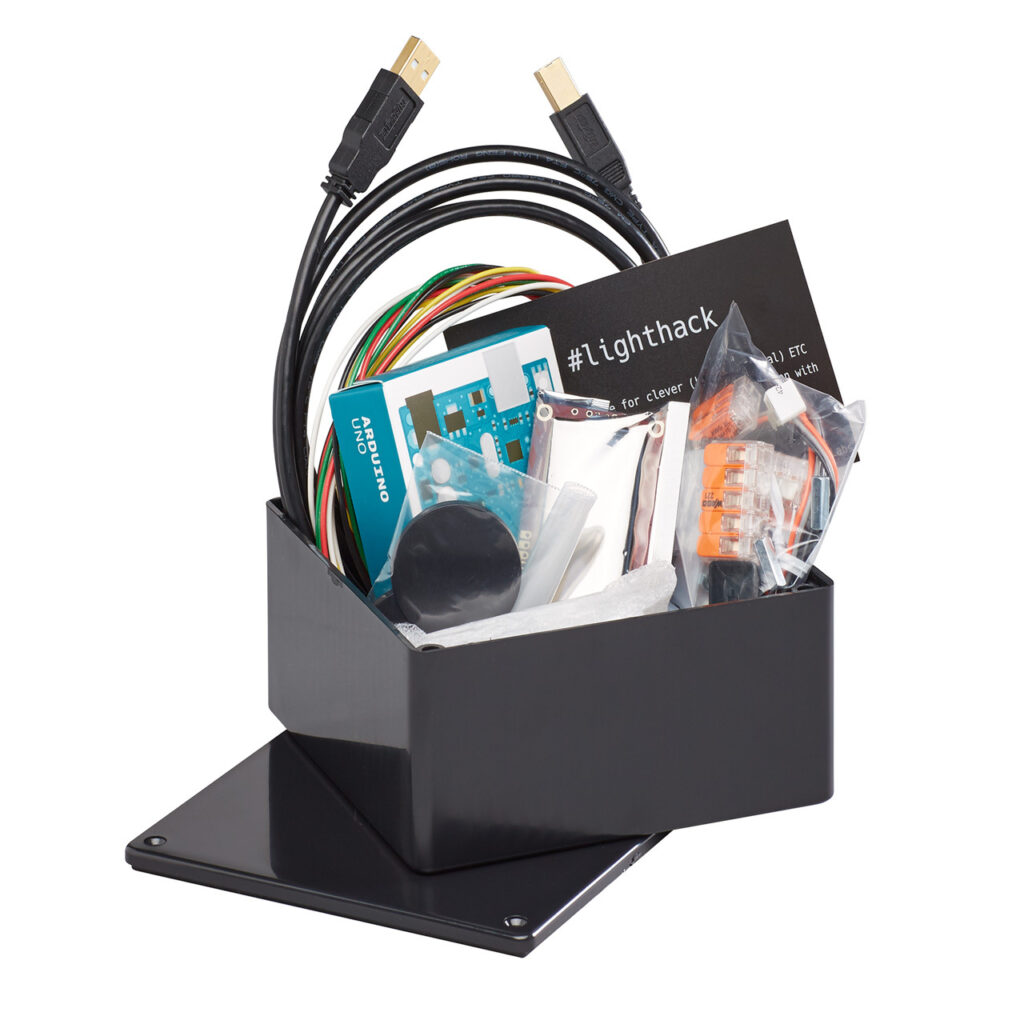
I can’t escape my love for encoders, especially when it comes to Pan and Tilt attributes. Fortunately, ETC has made that easily accessible for users. Lighthack is sold for $99 as a kit and will plug into your laptop and even a full console. https://shop.etcconnect.com/lighthack-box-1/ Or you could read the list of required hardware and buy them yourself to save some dollars, as the software is open source. Be aware there is soldering and other assembly required.
10. Showcockpit
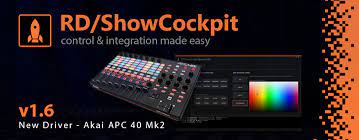
Now that Luminosus is no longer maintained, Showcockpit is your best bet if you need faders to control your show. It will allow you to attach a low-cost midi fader unit and have it control your faders in EOS through OSC. Showcockpit is modular, so you will need at least the Basic 30 euro starter as well as the OSC driver sold for 10 euros. Good support and tutorials make this a great choice. Be aware you will need to be comfortable writing the OSC commands in yourself. For the hardware- a popular midi device is the Korg Nanokontrol2.
Obviously, I’m not suggesting you need to buy all of these things, so use your own judgement (and budget) to make your decisions. (Side note-I actually have a friend who programs very quickly with literally nothing but a MacBook and a gadget. He does everything by memorized keyboard shortcuts and types values for parameters manually.) But for those of you who want a more tactile and intuitive experience, hopefully something on this list might be a small “aha!” item for you that will make your Nomad experience even better. If you think of things that should have made the list (or have requests for future articles), hit me in the comments.
Pingback: Adding Faders to Nomad – Mark LaPierre Lighting