As most programmers know, selection order matters a LOT. Especially in effects. Using one effect with different selection orders will make the effect look completely different. Subgroups (having two or more fixtures act together) opens up even more possibilities. Since I think this is such a big deal, I thought I’d illustrate the point with a short tutorial.
Here are three examples of intensity running across an array (let’s say a group of backlights) that might give you tools to know how to create the directional effect your designer/gaffer is asking for. Since effects are kinetic, I highly recommend you follow all the steps to see the effects we are achieving here for yourself. Let’s get into it.
Step 1- patch 20 lights. If you want to play with more effect concepts later, make them RGB. If not- make them dimmers.
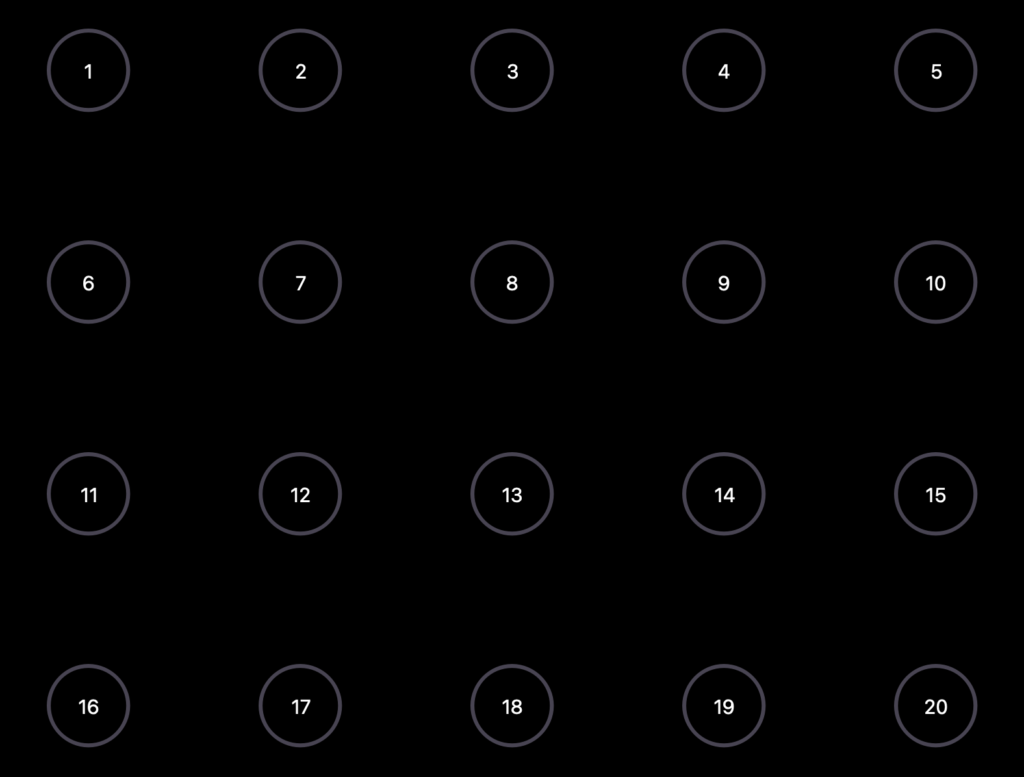
Step 2- make a magic sheet with any light shape you want (I chose circles) in 5 columns of 4 rows.

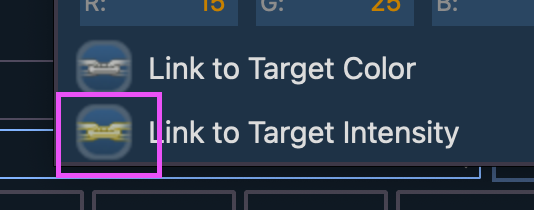
Make sure all your fixtures are set to Link to Target Intensity. Again- if you want to play with color later, also link them to Target Color.

Step 3- make a new Absolute Effect 1 which brings intensity to full in step 1, then Background in step 2. Since I find it easier to see what is going on when the lights pop, change Time to 0 and Dwell to 0.5. Feel free to take all your channels and run the effect across them to see what happens without subgroups.

First Example
Your LD/Gaffer asks for an effect that goes in rows (1-5 all at once, 6-10 all at once, etc).
1. Type [1] [thru] [2][0] {Offset} (Remember to look for Offset in the Softkeys.)
2. Select {Num Groups} [4]

3. Type [Effect] [1] [Enter].
What happens? The lights pop up starting at the row at the top of the screen, traveling towards to bottom of the screen, and they do it row by row. Awesome. By telling the console to make 4 groups, it made four groups in the order of your selection. That’s why this result happened.
Second Example
Your LD/Gaffer asks for the same kind of effect, but this time they want the effect from left to right in columns.
- Type [1] [thru] [2][0] {Offset}
- {Num Groups} [5] (five for the number of columns)
- Select {Interleave} (this intersperses the subgroups ACROSS the selection, so the 1st, 6th, 11th, and 16th channels will be the first group)
- [Effect] [1] [Enter].

What happens this time? The effect travels from left to right in columns, as requested. Interleave is the new concept here, and this tells the console that the first subgroup should grab the first channel of each set of five, the second subgroup should grab the second of each set of five, etc. Interleave is an AWESOME button and I highly recommend playing with it a whole lot to find new possibilities.
Third Example
Your LD/Gaffer wants a diagonal effect starting at 1 and streaking diagonally through the array to channel 20.
- Type [1] [thru] [2][0] {Offset}
- {Num Groups} [4]
- Select {Interleave}
- [Effect] [1] [Enter].

You should be seeing a diagonal effect. Why does this work? It’s the juxtaposition of the request for four groups , interleaved, across an array of 20. In a way, I deliberately misused math to create a pleasing effect.
It’s very important to realize these examples were created on and work for exactly this array of 5 columns with four rows. An array with any differences will require different juxtapositions of the Number of Groups and Interleave to achieve your desired results. But hopefully this introduces you to the concepts to be able figure out how to adjust the math to other examples. In my experience, time spent playing around with possibilities in Offset is time very well spent. What are your favorite uses of offset? Hit me in the comments!
2 comments