Related to last week’s tutorial, there is another way to have tabs control a magic sheet which allows for elegant magic sheets that are able to contain tons of information/controls in a single screen. Let’s dive in.
Here’s a picture of my default magic sheet here for reference. (If you are interested in hearing about this magic sheet and others, I have a tutorial on Magic Sheets on the website you can check out.)
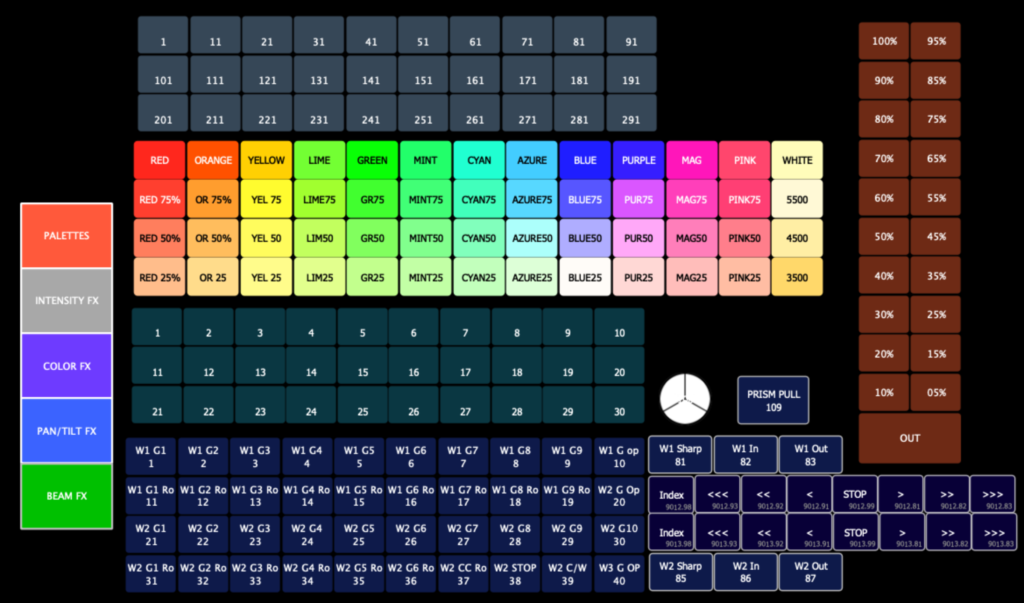
The tabs are on the left, and each triggers a macro that trades the magic sheet out for the next one. I like this system a lot, and though my magic sheet is nowhere near the coolest one I’ve ever seen, it helps me do my work every day. How is it done?
Step 1
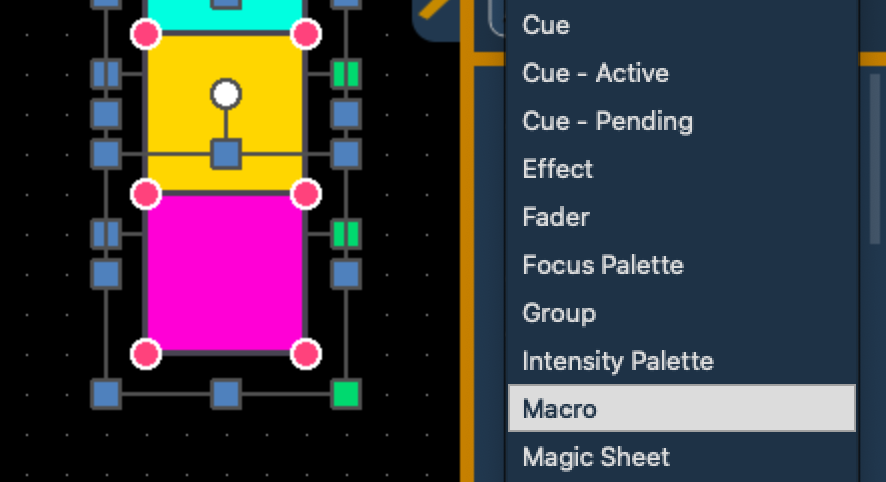
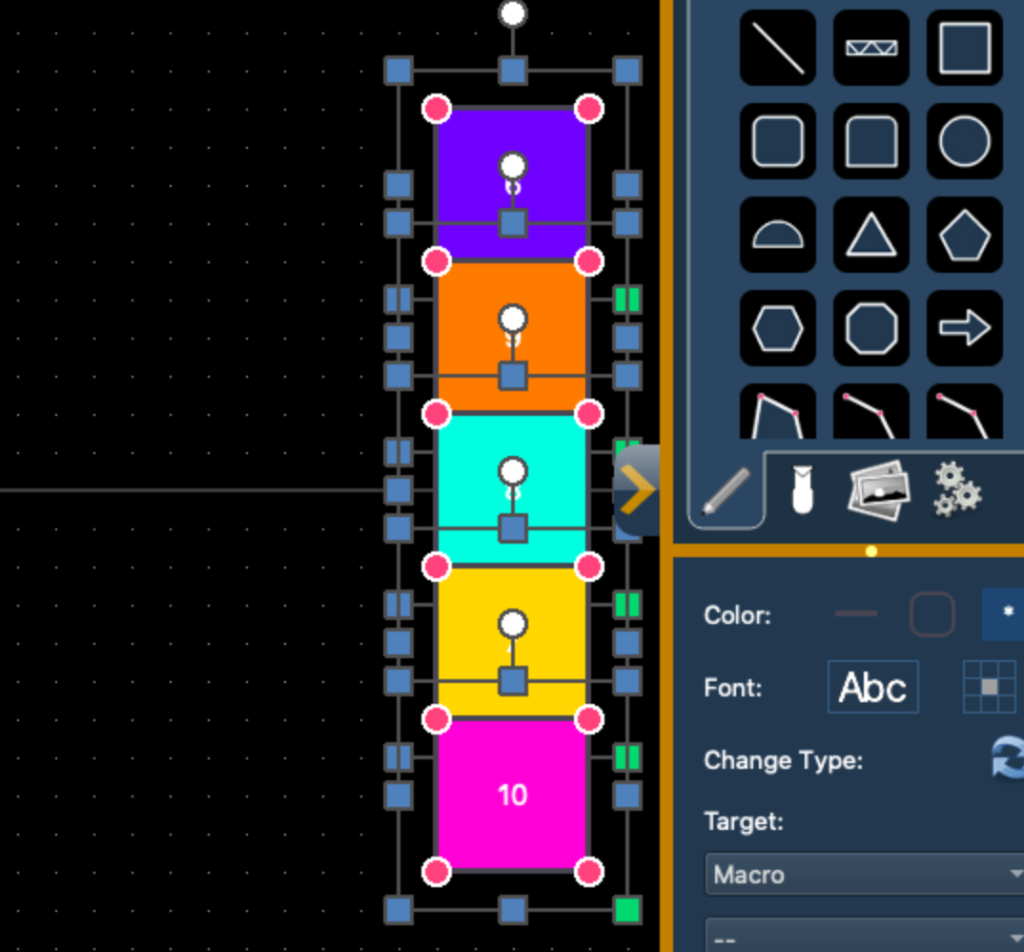
Create Five icons/symbols you like that will be your tab icons/macros. Mine are very simple squares (referred to as Rectangle in the first tab of magic sheet tools) since I’m not much of a graphics designer. Create your symbols, place them in a blank magic sheet where you want them always to be. Choose colors to make each distinct, but be aware some colors make the text harder to read.
Step 2
Select all the shapes and change Target to Macro.
Step 3
Assign unique Macro numbers to each tile in a logical progression. I would avoid the macro number associated with your console buttons or anything else you want to use regularly.
Step 4
Write the macros! Go to Macro Editor by double tapping [Macro]. Create a new macro by JUST typing the number then [Enter]. Press Softkey 6 for {Edit}.

WARNING- once you enter Edit, ALL buttons you press are recorded. Go slow. If you make a mistake, no problem- the arrows on your typing keyboard will allow you to select something and Softkey 4 for {Delete} will delete the wrong entry.

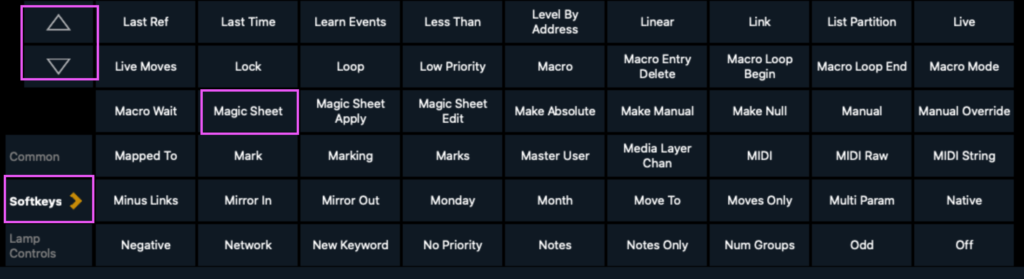
Moving ahead with the macro. In the CIA, you will see many tiles of things you can use in Macros. Select {Softkeys} and use the onscreen arrows to navigate to {Magic Sheet}.
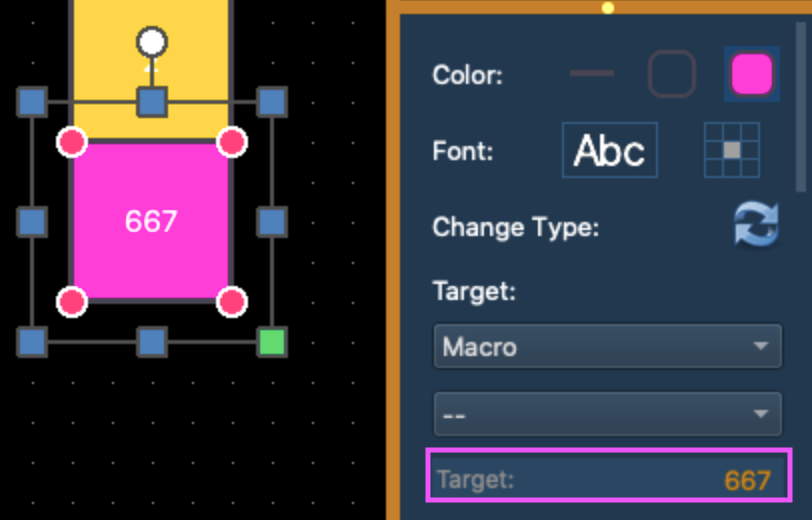
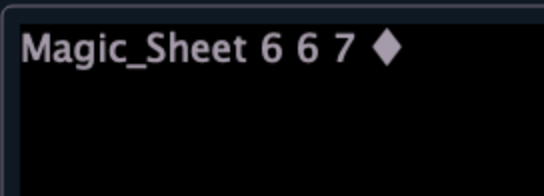
Now type the number of your Magic Sheet (I’m using 667 since I like numbers to relate) and be sure to press [Enter].
Now, BEFORE YOU PRESS ANYTHING ELSE, press Softkey 6 for {Done}. This stops EOS from recording anything more into your Macro.

Repeat these steps for the rest of your macros- one for each Magic sheet you wish to tab to, and obviously with a unique macro and magic sheet number for each.
Step 5
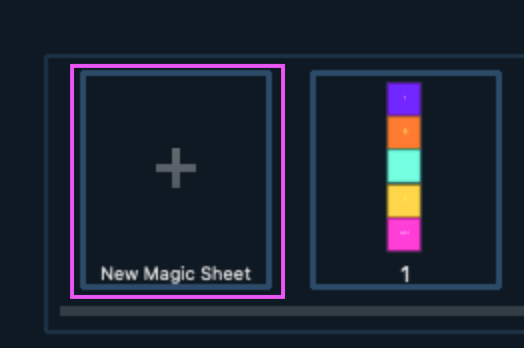
Back in Magic Sheet edit, when you are sure all your shapes have their macros status and unique macro numbers, it’s time to make the other magic sheets. Select all of your shapes and use your typing keyboard to press Control (Win) or Command (Mac)/ C (for Copy). Create your next magic sheet (make sure it lines up with your numbers in your macros!) by pressing the cog in the lower left hand corner and selecting Magic Sheet Browser.

Then touch the [+] symbol to create a new Magic Sheet.
Touch the chevron on the side of your new Magic Sheet to enter Magic Sheet Edit and press Control (Win) or Command (Mac)/ V (V for paste- so intuitive). Annoyingly, you may need to move your symbols to have them be in the same place on your first Magic Sheet. Take special note of the grid in the background of the magic sheet to make this easier.
Repeat this last step to make a new magic sheet for each tab and copy in your symbols on each. And that’s it! Well, except for creating all the content on your brilliant new magic sheets, of course.
I hope this tutorial makes the process clear. As stated before, I love tabbed magic sheets and I use mine on every show I program. I’m fairly sure you will find them indispensable once you get one working. What are your favorite tricks for making the most of your screen space? Hit me in the comments, and thanks for reading!
2 comments