If you’ve never worked with MVR (My Virtual Rig), it’s amazing. It’s an open protocol created by Vectorworks, MA Lighting and Robe and it allows you to export your whole show- set, lights and all – in one file and import it into another platform. This is a huge feature for not only people who want to quickly export their show to their console, but for collaborators where maybe the set is created in Vectorworks and the lighting is being drafted and visualized in Capture (or WYSIWYG). I’ve used it for this purpose, exporting from VW and importing lights and set into Capture, and then exporting the whole thing to my collaborator who works in WYG. It’s powerful and fast. To show you about it, I’ll be exporting from Vectorworks and importing into Capture, since I own them both, but the process is essentially the same with WYG or a console. Let’s dive in.
Starting in Vectorworks in a show file. This is a production of “A Christmas Story” my friend Dan Meeker designed scenery for while I designed lighting.
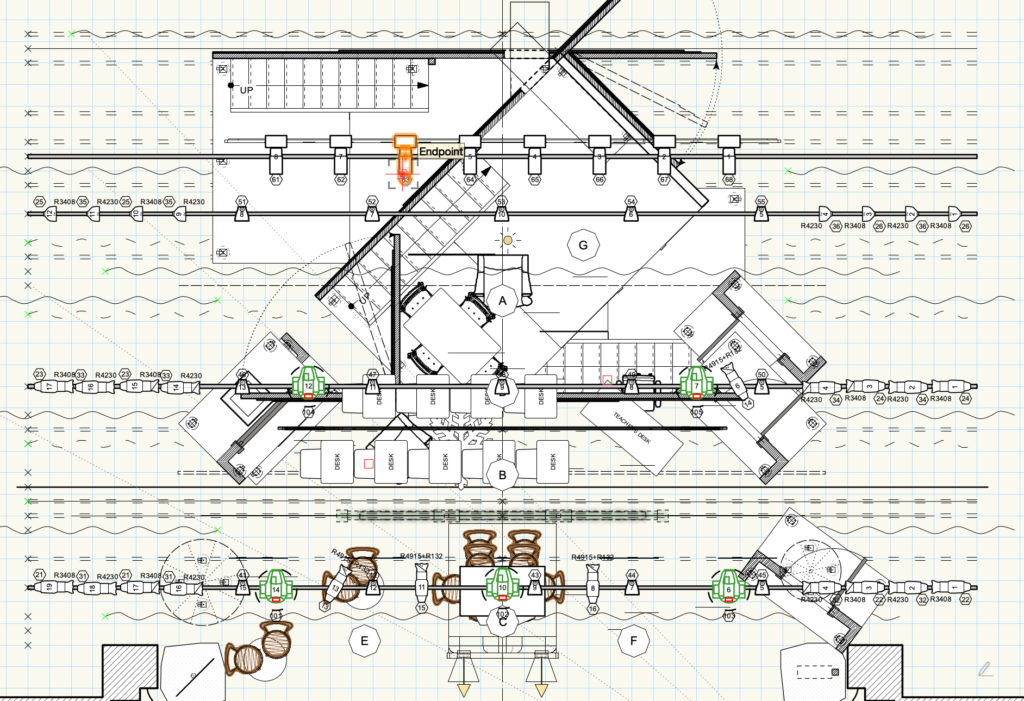
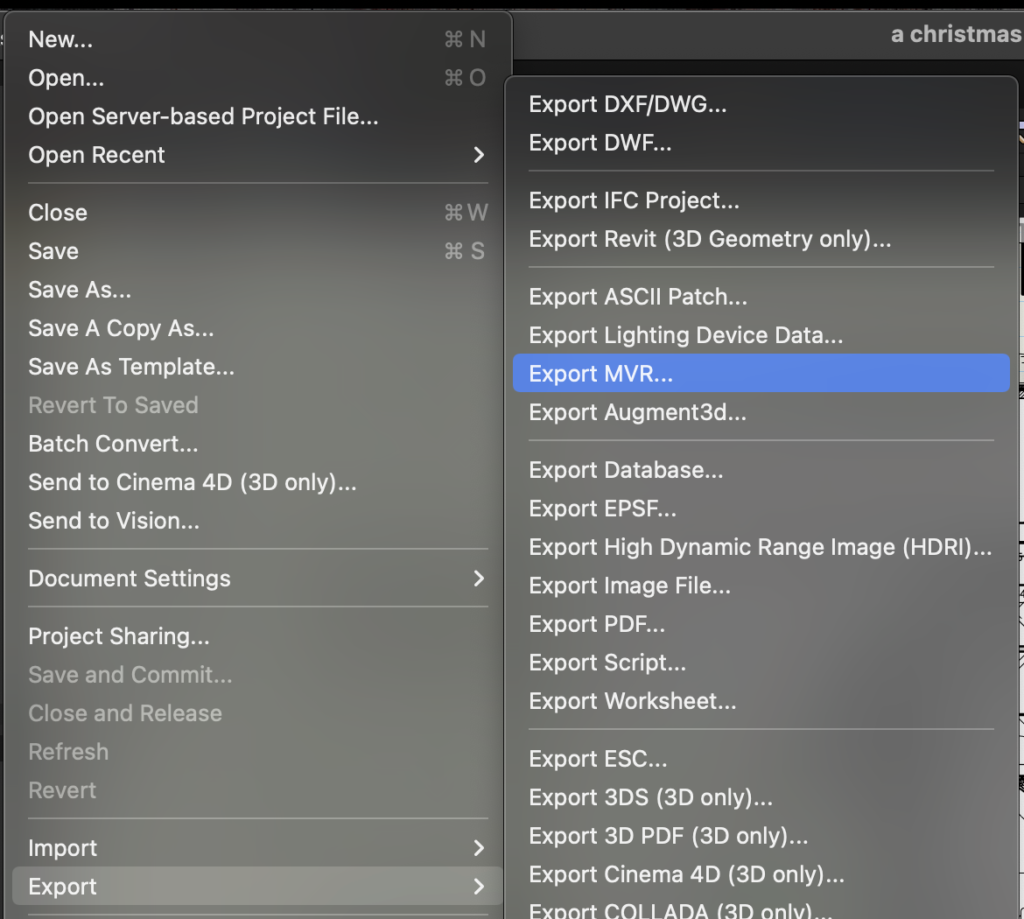
Scenery has materials galore. I mention this since getting materials to export has been an issue for me in the past with other file formats. In Vectorworks, go to File>Export>Export MVR. If you don’t see that option, you may need to edit your workspace to gain access.
A dialogue box opens.

Basically, you can opt into and out of exporting information here. On the left, I typically opt for “All objects in drawing” and in the center I typically exclude Focus Points and PDFs. Now notice the right-most column. It lists each kind of light it is going to export and tells you it’s going to do it in a GDTF format. This is a “generalized” format that acts as a placeholder, since so many specific pieces of data are included in a full 3D rendering of a light that you can visualize with. Think of it as a placeholder. Press OK and decide where you want the file to go.
Over to Capture. File>Import Model, choose the file you just exported. A dialogue box opens to Identify Fixtures.
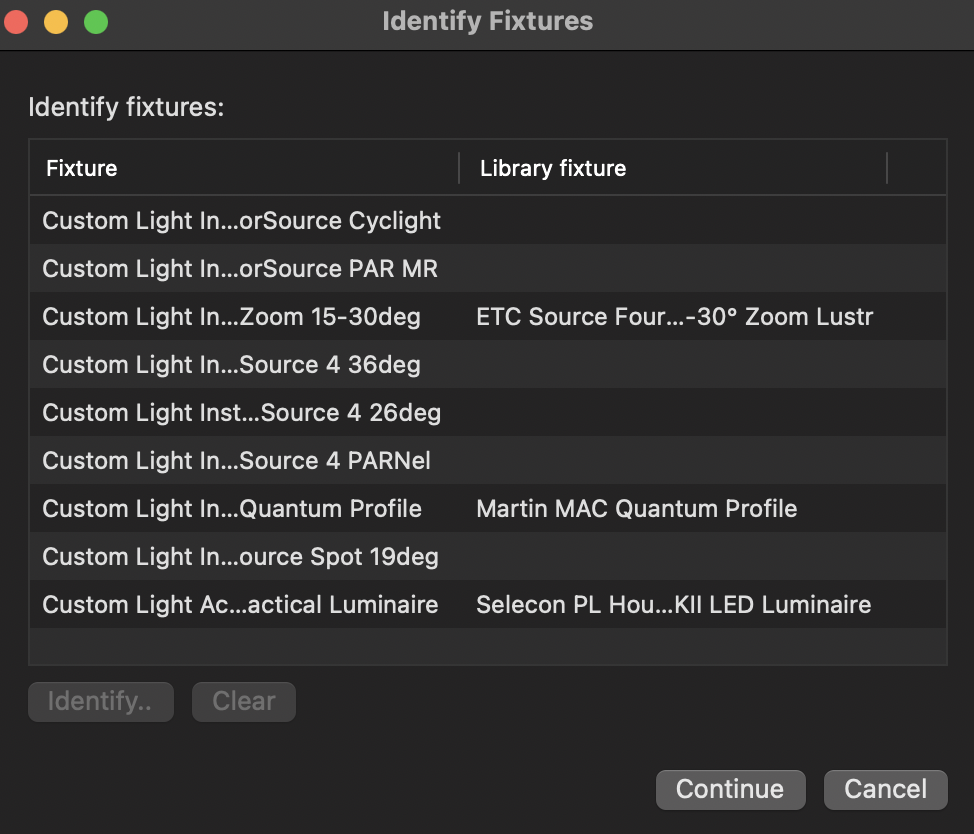
This is where you choose what all the “placeholder” GDTF fixtures should be within Capture. Under the column Library Fixtures, double click each item to choose the right fixture from the Capture library. (Helpful hint for theater people- Capture identifies a standard Source 4 as “Source FOUR”.) When done, click Continue.
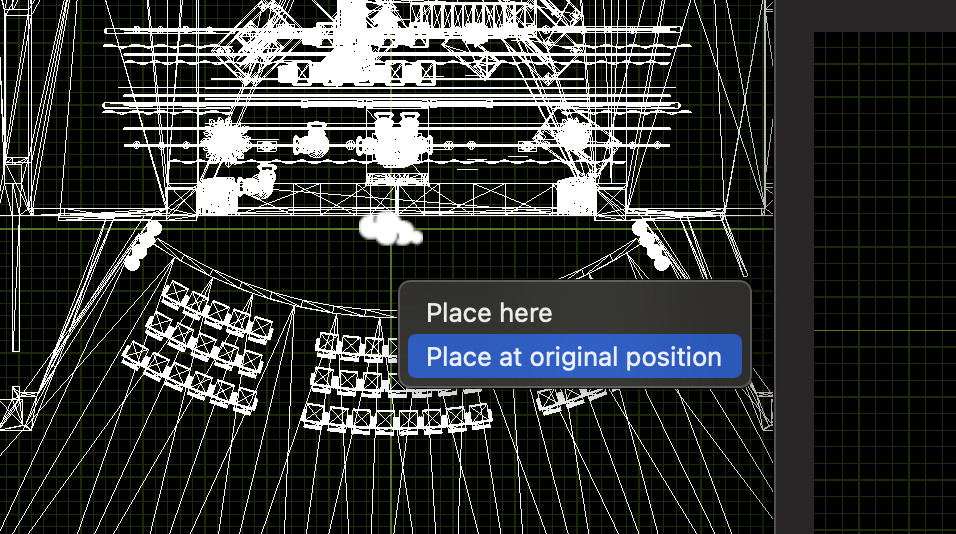
Capture will analyze the data, then open a new window that you can drag and drop the model and lights into your show file.
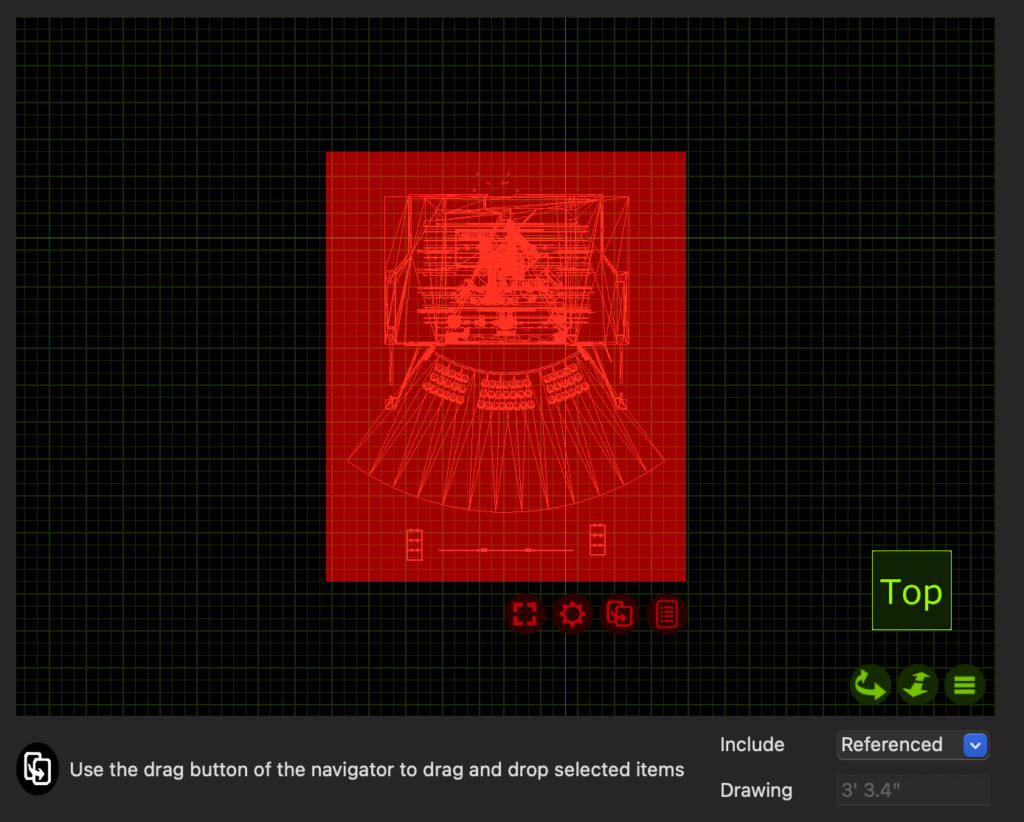
When you do, it will give you the option to “Place here” or “Place at original position”. Choose “Place at original position” and close the import box. This preserves the origin point.
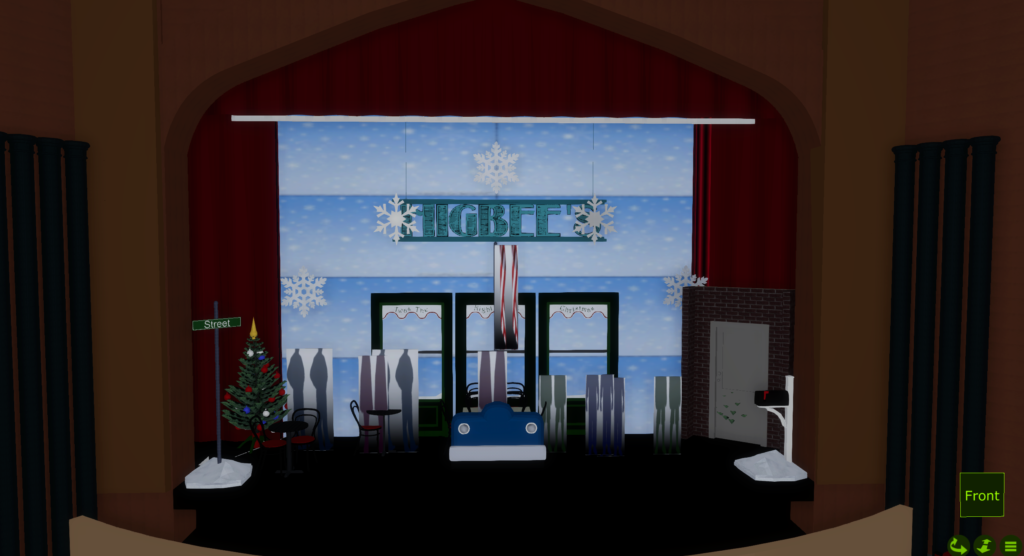
With a few minor import errors, the set, lighting, addressing all show up now in Capture and, were this a current project, I could get started visualizing. Errors include the human figures, which are now strange rectangles, a material was missing from the proscenium, but was easily fixed and the candy canes at center.
I hope this was helpful and illustrates how useful MVR is. Any tips and tricks from those of you who are already using it? I’d love to hear them.
Pingback: Eos 3.2: Import MVR – Mark LaPierre Lighting
Pingback: Volumetric Stage Design: A VR Sketching Guide for UK Theatre | From Concept to Curtain