Welcome back. Last week, we created a bunch of cue list data and modified some cue list settings in our process to make a busking template for Eos. This week, we will create some Macros and a Magic Sheet. Let’s dive in.
You may remember from last time that we didn’t specify any timing for our color cues. That’s because we will create some macros to overwrite this timing on the fly so we can play our cues in sync with the music. Double tap Macro to go to Tab 18 Macro Editor. I prefer to make Macros in blind so it’s easier for me to catch mistakes. If you haven’t created many macros, there are a few rules that I will point out as we go through them.
Make Some Macros
First- never use the Macro keyword to create a new macro. Every time you press Macro, Eos is ready to run a macro. So to create an empty new macro, you want to type just the number for the macro, then Enter. Since I am a number nerd, type: 101 Enter. Hit Label and name the empty macro Time 0. Now hit Edit (Softkey 6). Here’s your next important thing to know about making macros in Blind. Every button you hit will be recorded except for the Arrow keys and Escape. Every. Button. So work slowly and carefully. If you hit the wrong button, no big deal. Use the arrows to select the wrong keyword or words and then hit Softkey 4 for Delete. Do not hit the Delete button, since that will also be recorded.
Once you’ve hit Edit, type::
Cue 101/1 Thru Time 0 Enter
Cue 102/1 Thru Time 0 Enter
Cue 103/1 Thru Time 0 Enter
Cue 104/1 Thru Time 0 Enter
Cue 105/1 Thru Time 0 Enter
When you are done, touch Softkey 6 for Done.
We are going to repeat this process for different timings. You’ll use the exact same lines in the macro shown above except you’ll replace the Time value.
Add Macros:
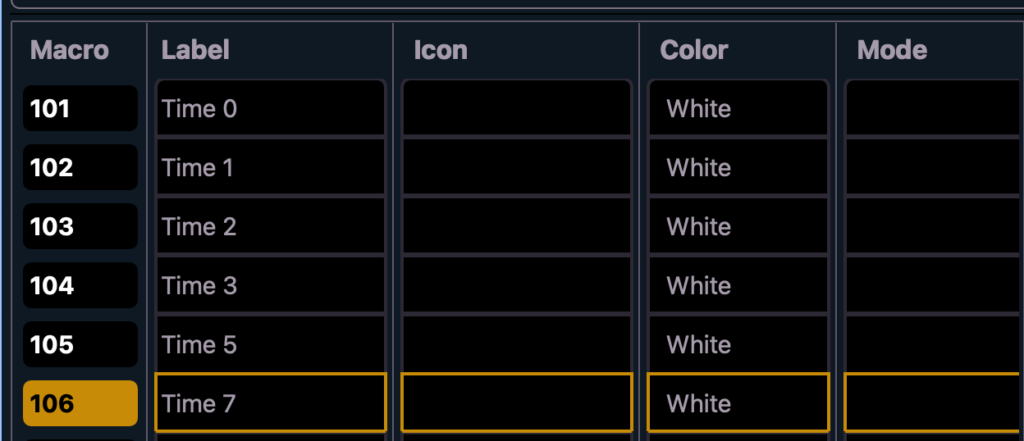
102 Time 1
103 Time 2
104 Time 3
105 Time 5
106 Time 7
So we’ve completed the basic Timing macros. One more macro- the one to set the Global Effect Six and Rate back to 100. (Remember that the default range for effect faders is from 0-200%.). This will get triggered on Cue 1/3 of our Primary List. Since Effect Rate and Size faders aren’t like most other kinds of faders, the macro we make has to reference the actual fader where they are placed. No problem. Since we are all in the same show file, I know that Day Four of the training ends with Global Effects place on Fader page 3, faders 9 and 10.
Type: 111 Enter to create Macro 111. Hit Label then type: FX Restore. Hit Edit, select Softkeys and then input:
Fader 3/9 at 50 Enter
Fader 3/10 at 50 Enter
It’s worth noting: Though we are keeping it simple here, it would be perfectly easy to add lines to the macro that fade out any dedicated effect faders you add to your template.
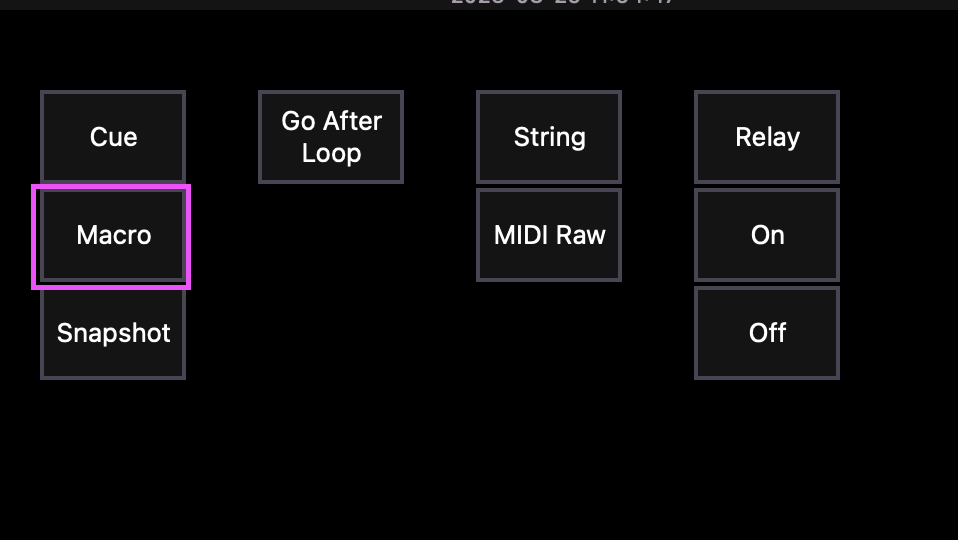
Before we forget, let’s assign Macro 111 to Cue 1/3. Go to Live, type: Cue 1/3 and then hit Softkey 5 for Execute, then select Macro from the popup window, then type: 111 Enter.
Make Some Magic
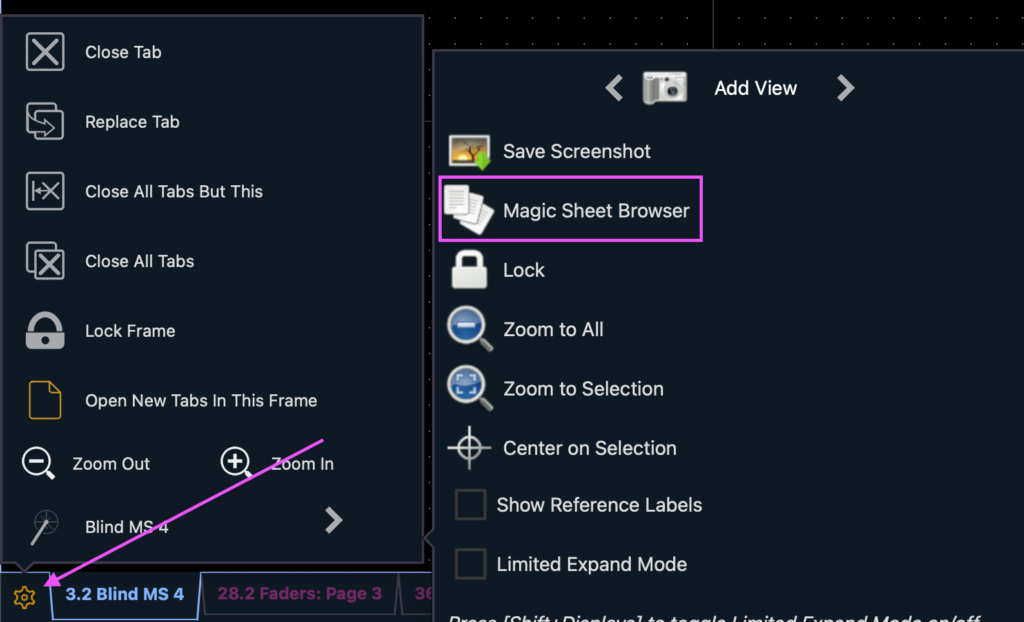
Now that we’ve assembled a bunch of content, it’s time to put it together into a Magic Sheet. Open Tab 3 for Magic Sheets. You need to add a new magic sheet, so click the Cog in the lower left hand corner and Select Magic Sheet Browser.
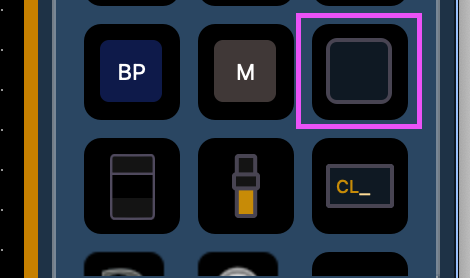
Click the + sign to create a new magic sheet, which will put you in Blind Magic Sheet. First thing to do is create the Cue shapes. We will create a row of color-filled tiles that trigger the cues, then we will copy them to create new rows to trigger all five of our cue lists.
I’m a fan of the generic button shape for these things. So click and drag one out to the left side of the screen.
Once we drag one out, we want to tell Eos this Target is a Cue. Then below that, tell it which Cue by typing 101/1 for List 101, Cue 1.

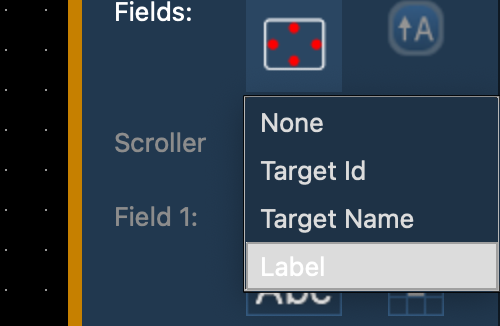
Now we want to scroll down and change Field 1 to be Label instead of Target Name. (Since I love labels, I always want to see them.)
Now we want to click on the three lines in the upper right hand corner and select Create Array. Edit the fields so it resembles this:
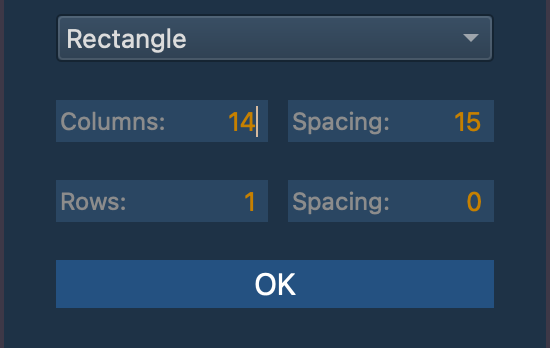
Click OK at the bottom. Now go down the line and edit each of the new item so it’s referring to Cue 101/2, Cue 101/3, etc.

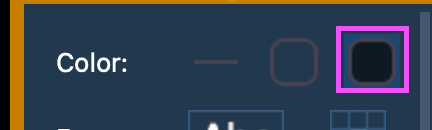
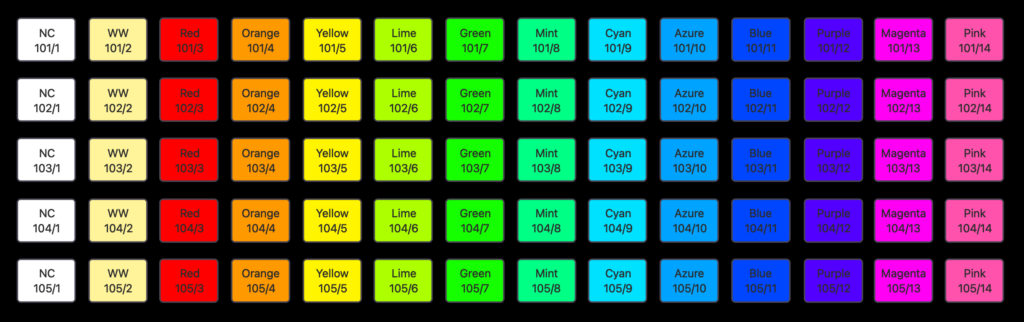
Now we want to edit the Fill color of each so they resemble the colors they are triggering. Click in the first Cue item and then select Fill Color. Select a white tile. Run down the cue list, changing the fill color for each item to show you what color the cue is.
Cue 101/1 White
Cue 101/2 Warm White
Cue 101/3 Red
Cue 101/4 Orange
Cue 101/5 Yellow
Cue 101/6 Lime
Cue 101/7 Green
Cue 101/8 Mint
Cue 101/9 Cyan
Cue 101/10 Azure
Cue 101/11 Blue
Cue 101/12 Purple
Cue 101/13 Magenta
Cue 101/14 Pink
When you are done, select all the tiles. We need to change the font colors so they are easier to read. Scroll back down to Field 1 and Field 2. Select where it says ABC next to each (one at a time) and edit the font color to be black. You should have something like this:

With all the tiles selected, we now want to press (on your typing keyboard) Control C for Copy and then Control V for paste. Do this four times, arranging each new set to be neatly below the last.
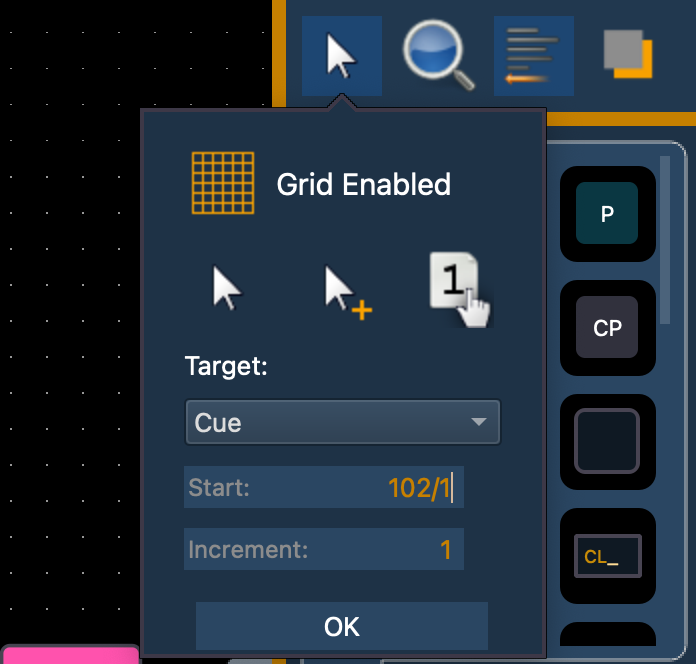
Now use the Quick Target selector to renumber each of your new tiles to apply to the correct cues. Second row should be Cue 102/1 thru 14, third row should be Cue 103/1 thru 14, etc. Set the Target and starting number, then click OK.
Click each item in order, then hit Done in the lower right hand corner. At the end, it should look like this:
Next, we need to add some Timing Macro icons. I like them on the top, but you place them where you wish. Make sure each item is set to show you the label instead of target name. A reminder- your timing macros are numbered 101-106. Here’s mine at the end.
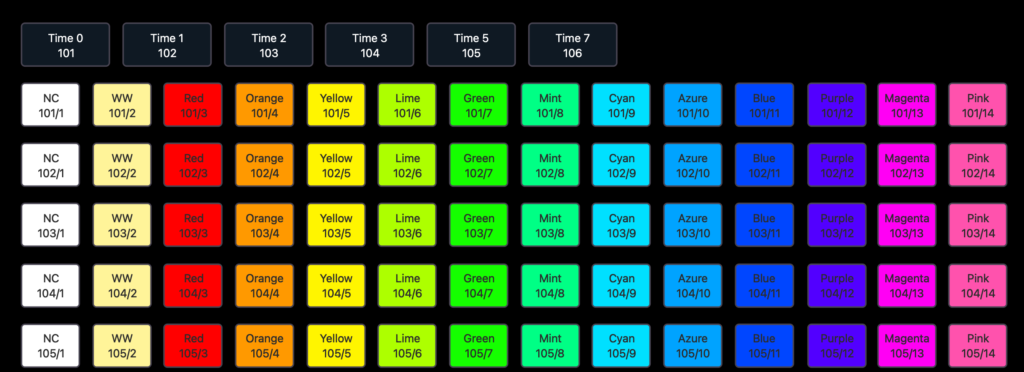
At this point, you should close the Magic Sheet editor and start testing your work. You need to be in any of the Cue List 1 cues to have intensity for your lights. Select a timing macro on your magic sheet, then start firing off some color fades. If something doesn’t work correctly the first time, don’t worry. Just go back over the steps we’ve taken so far and you should find what you need to correct.
This is a good place to stop for now. Next week in our final installment, we’ll create some inhibitive submasters, a few effect submasters, and get to know the Global Effect Rate and Size faders. What have you been using for your approach to busking (non-linear lighting gigs) like music or variety shows? Hit me in the comments.